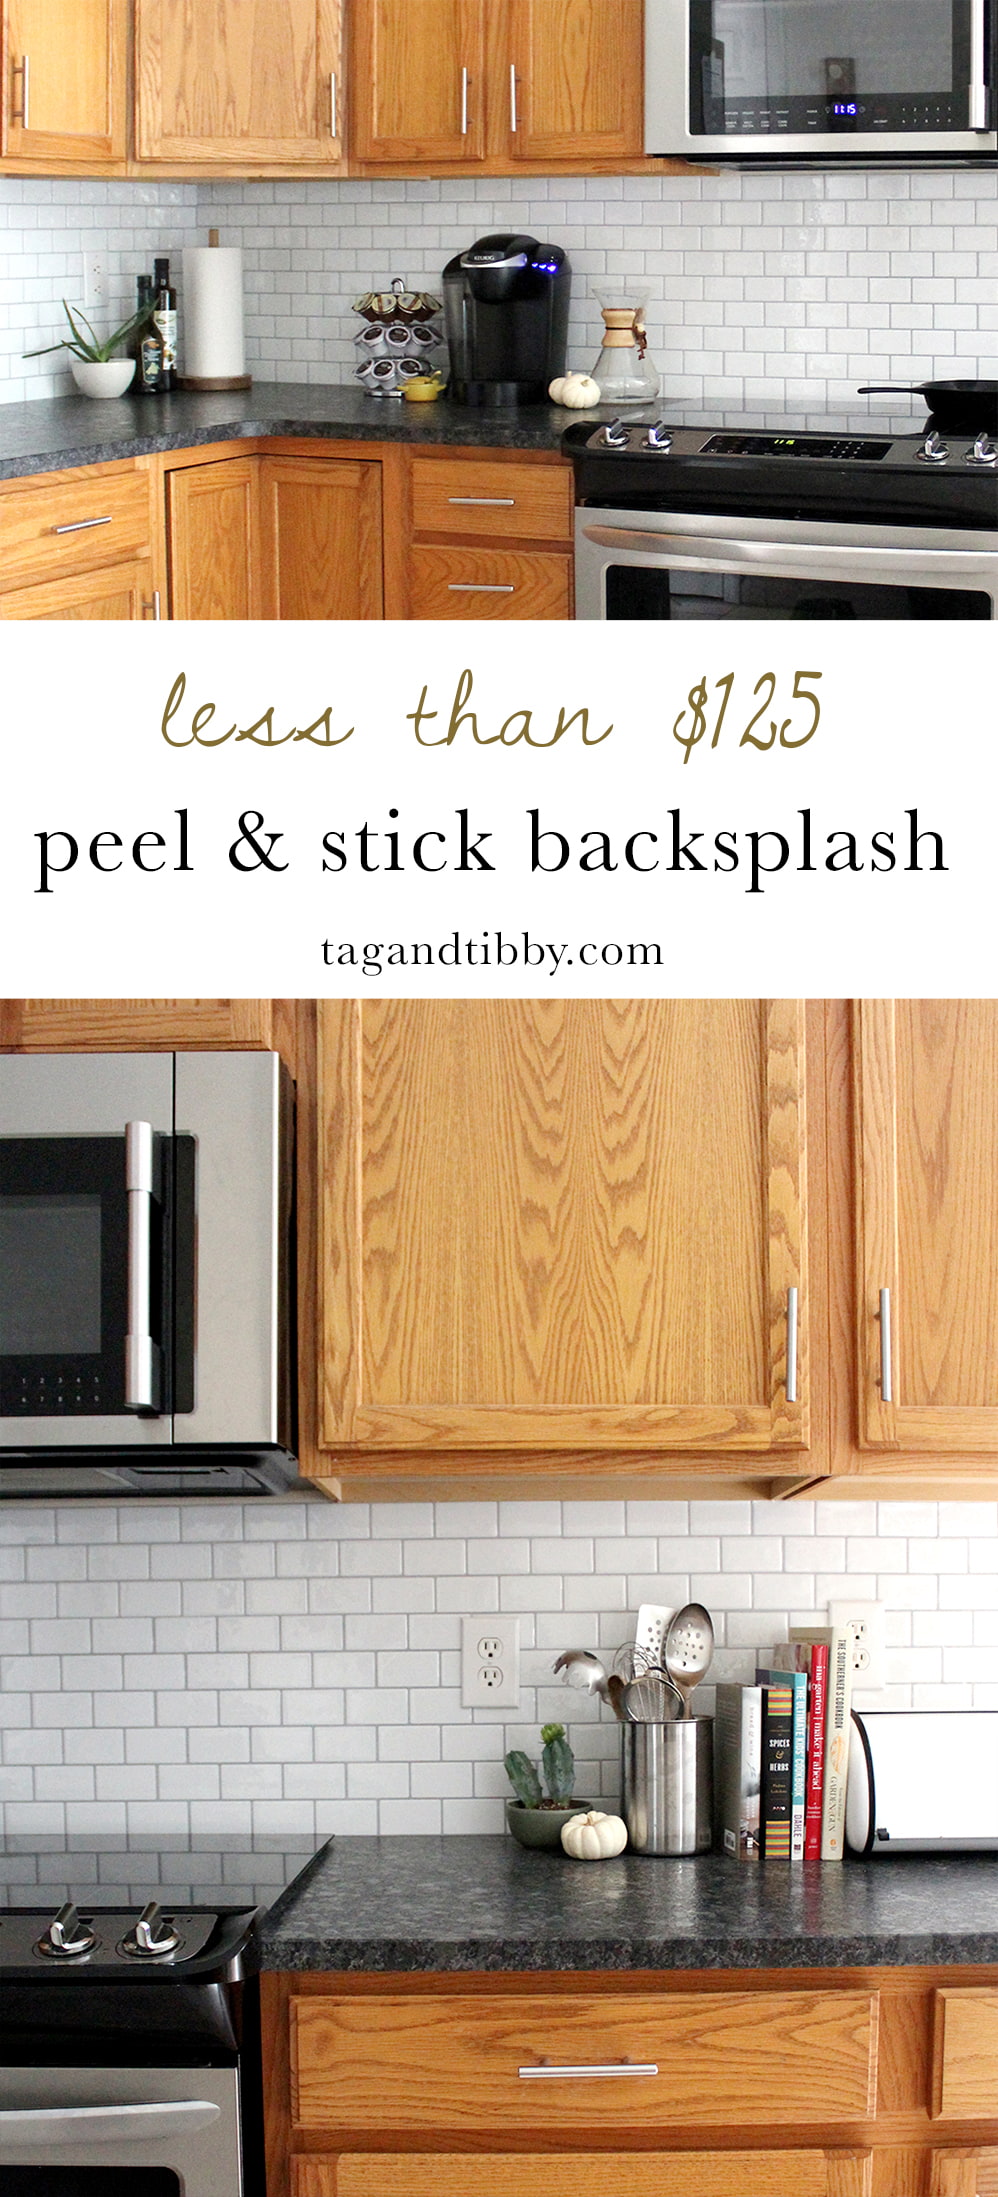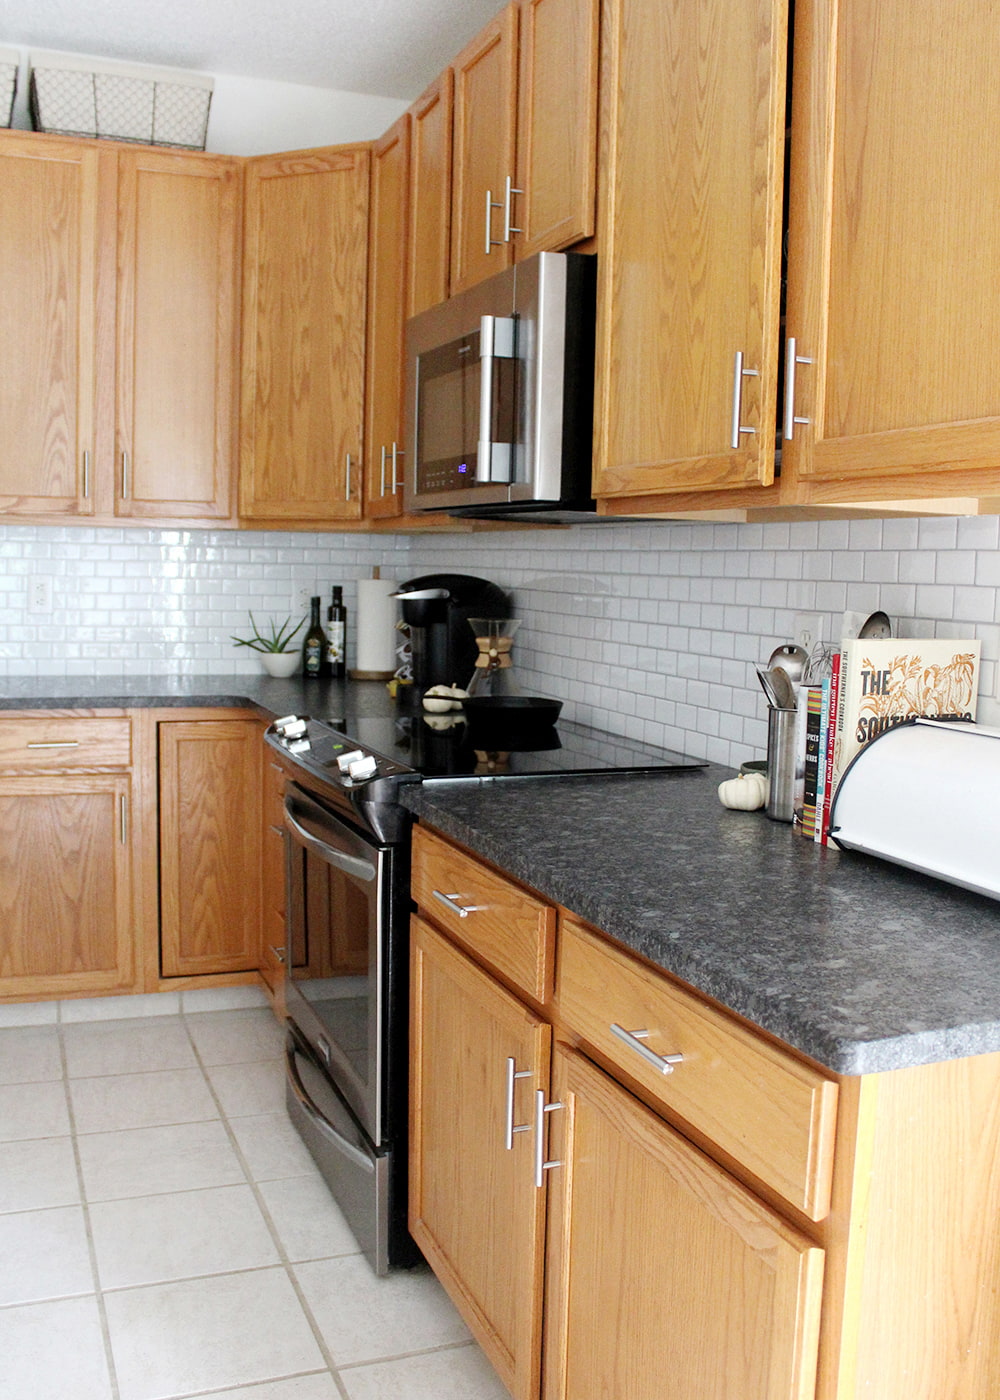
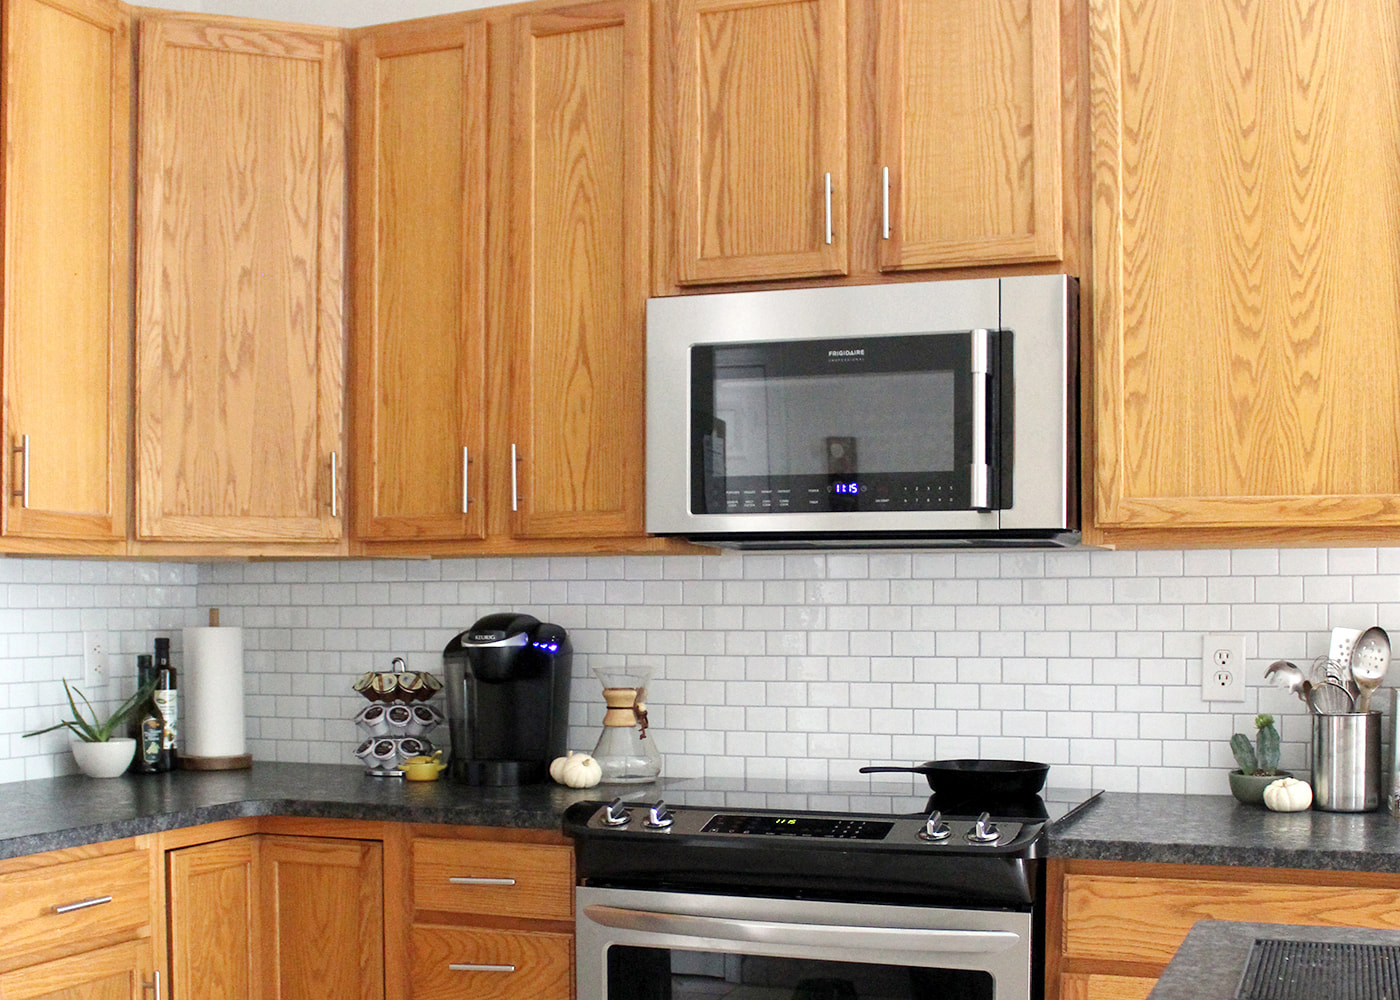
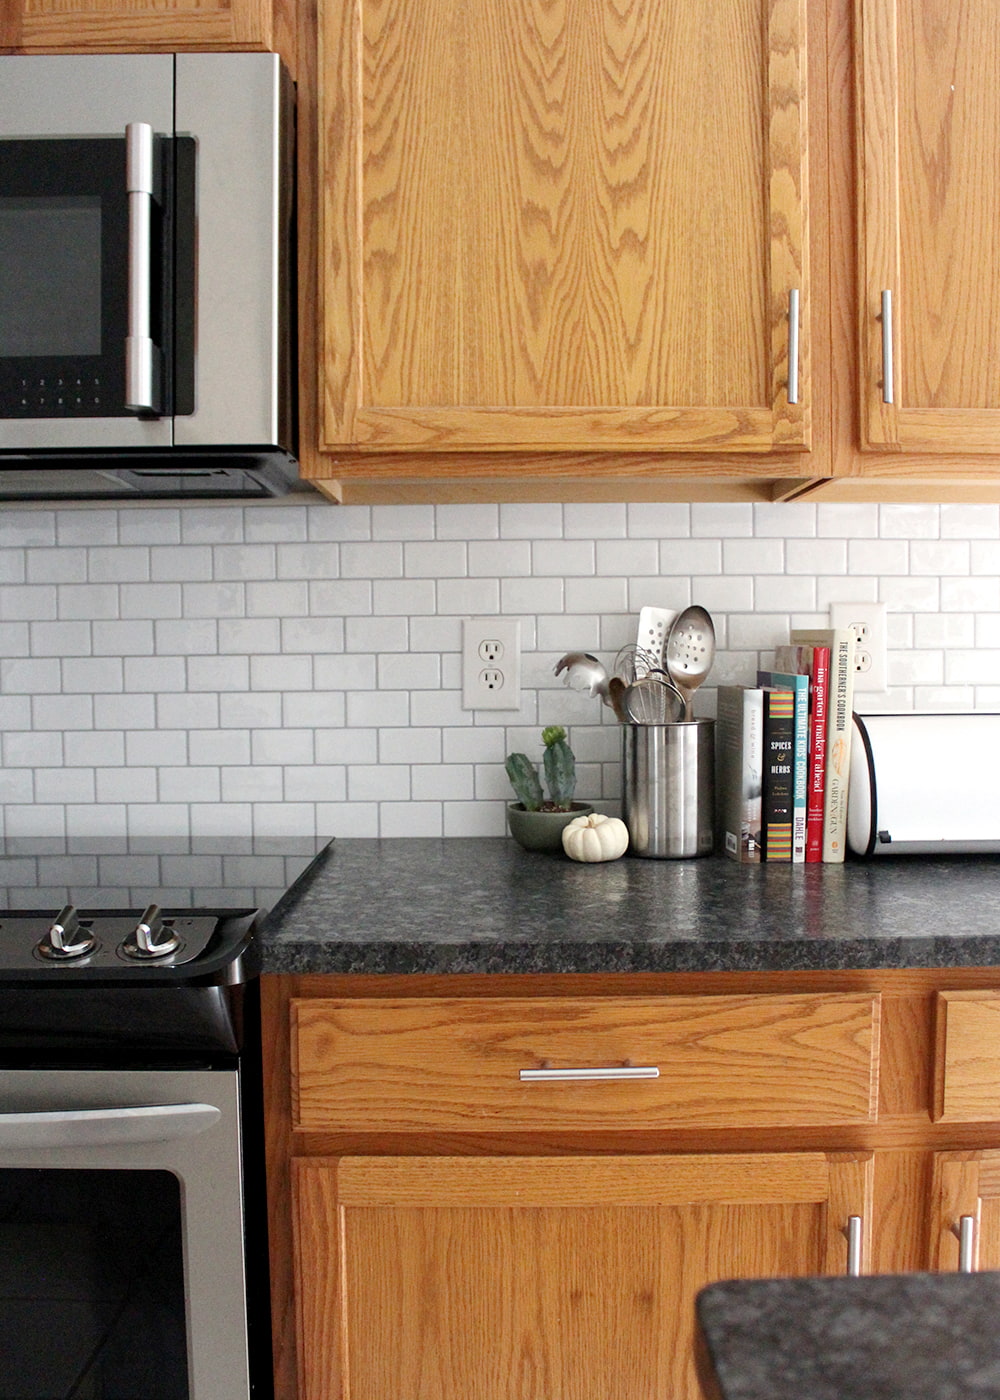
I spent a lot of time deciding our new backsplash because of our small budget, and researched several interesting backsplash ideas. In the end we installed peel & stick tile that looks like a classic white subway tile backsplash. Our peel and stick tile backsplash cost just over $100.
The info and pictures below will help you decide if a peel and stick backsplash is right for your kitchen. Scroll down for 6 installation tips and answers to 4 popular questions about peel & stick tiles.


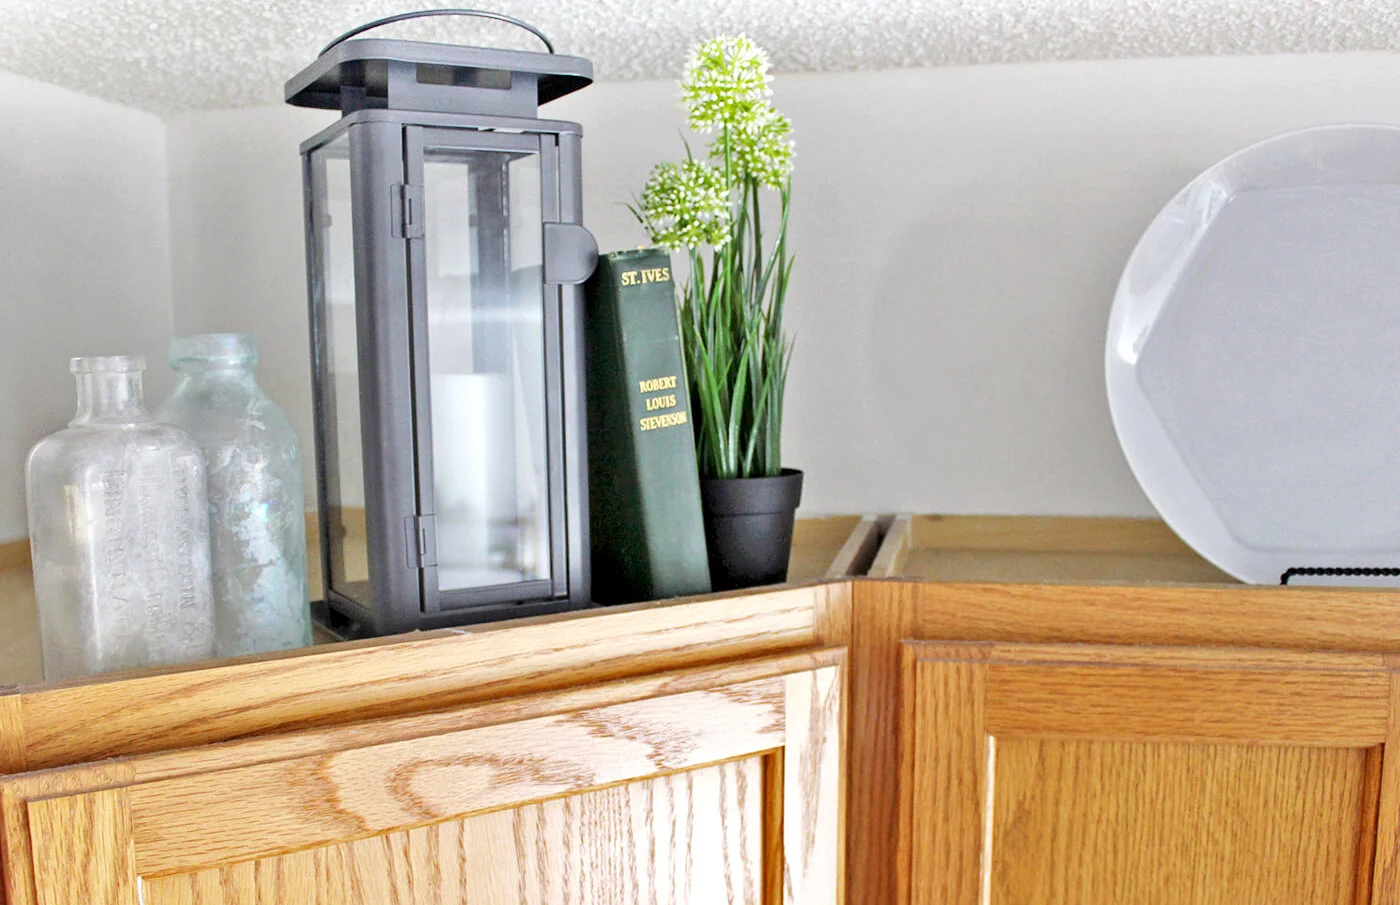
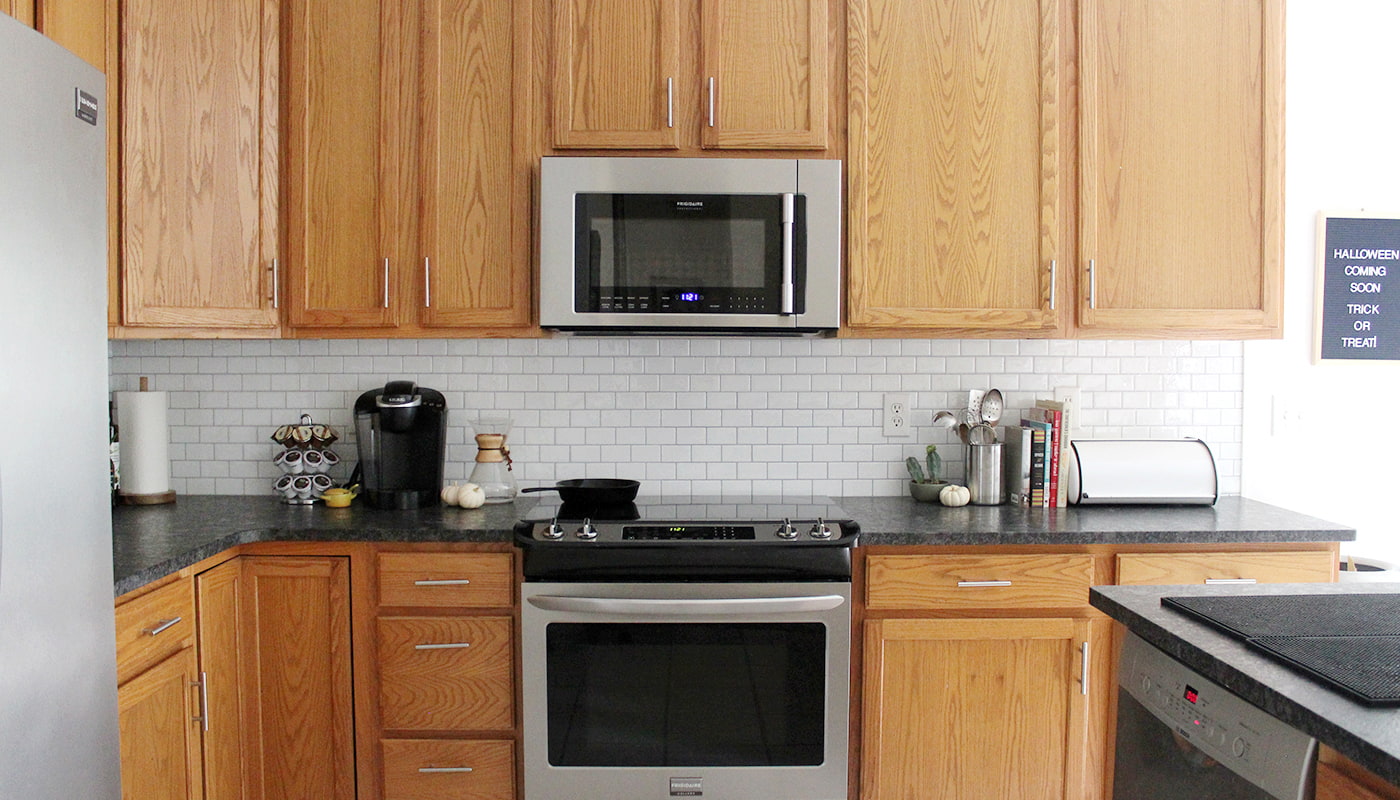
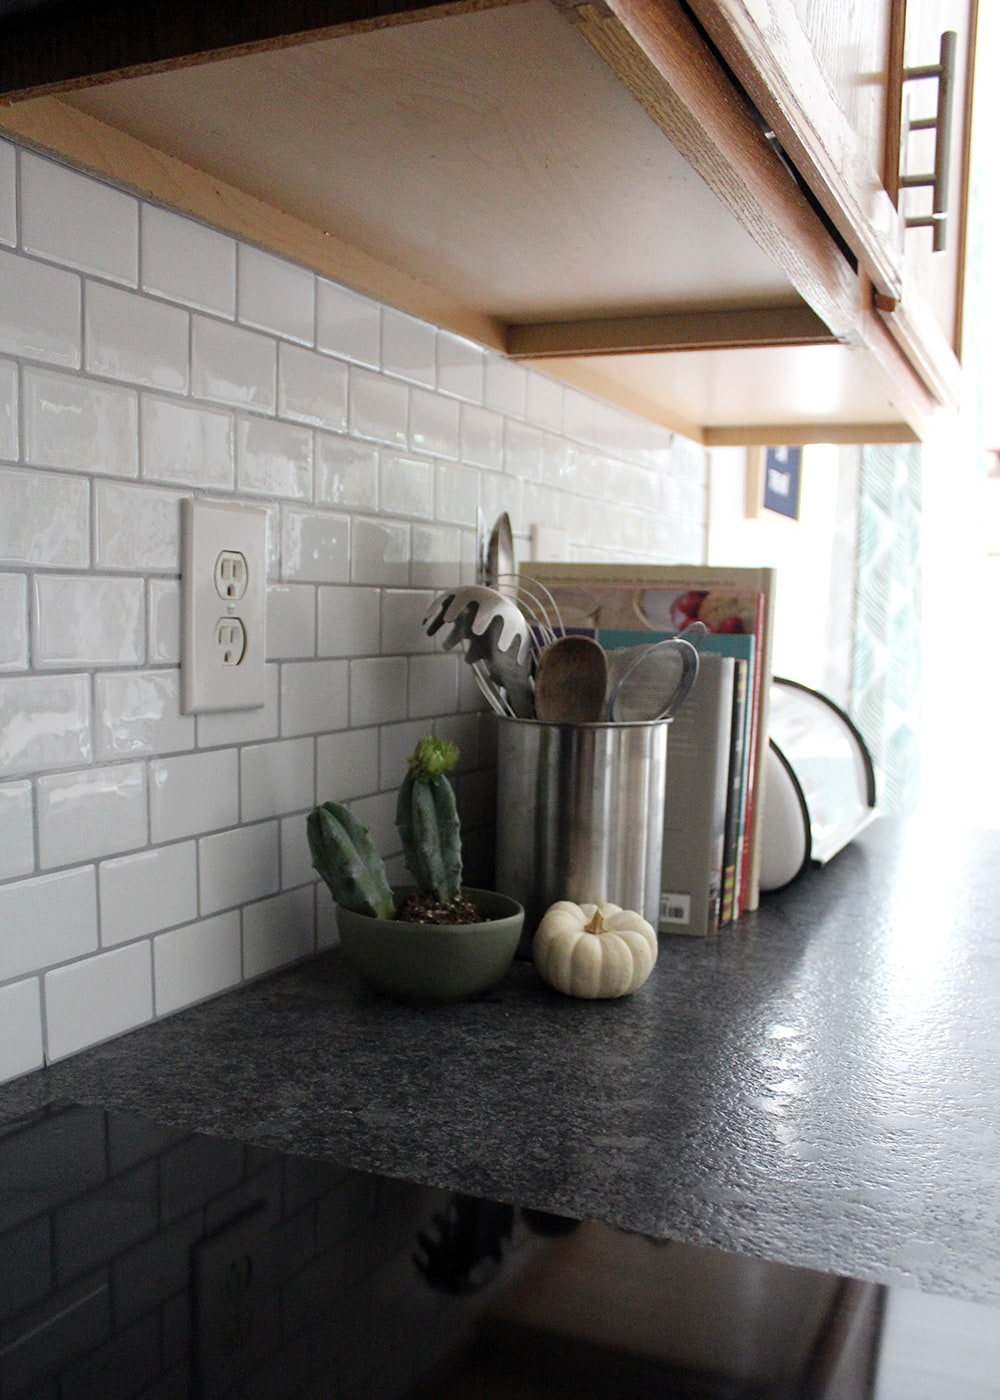
Our kitchen in 2014
This article contains affiliate links, please read my full disclosure here.
White Peel and Stick Backsplash
Cost Breakdown
-Peel & Stick Tiles, purchased 30 tile sheets (three packs of 10 12x12” sheets) for $107.91
-Plastic Lattice Molding, $3.85
-Level and a basic pencil (already owned)
- Utility knife and scissors (already owned)
-Paint brush, painter tape and spackling paste (already owned)
Total $111.76
*Each kitchen is unique, please measure your backsplash area and order material accordingly.
I used an online backsplash calculator to figure out how many 12”x12” tile sheets we needed. If you buy a different brand of peel & stick subway tile—our tips may not 100% apply. Follow the directions you receive with the product from the manufacturer.
Tip 1:
You don’t need construction experience to install a peel and stick backsplash, but you do need a perfectionistic eye for detail. A few times we laid the tile along the wall and the faux-grout line looked too thick.
Thankfully the tile sheet can be removed and adjusted for the first 24 hours. If you do need to make adjustments, do it right away so it doesn’t mess up the overall tile pattern.
Tip 2:
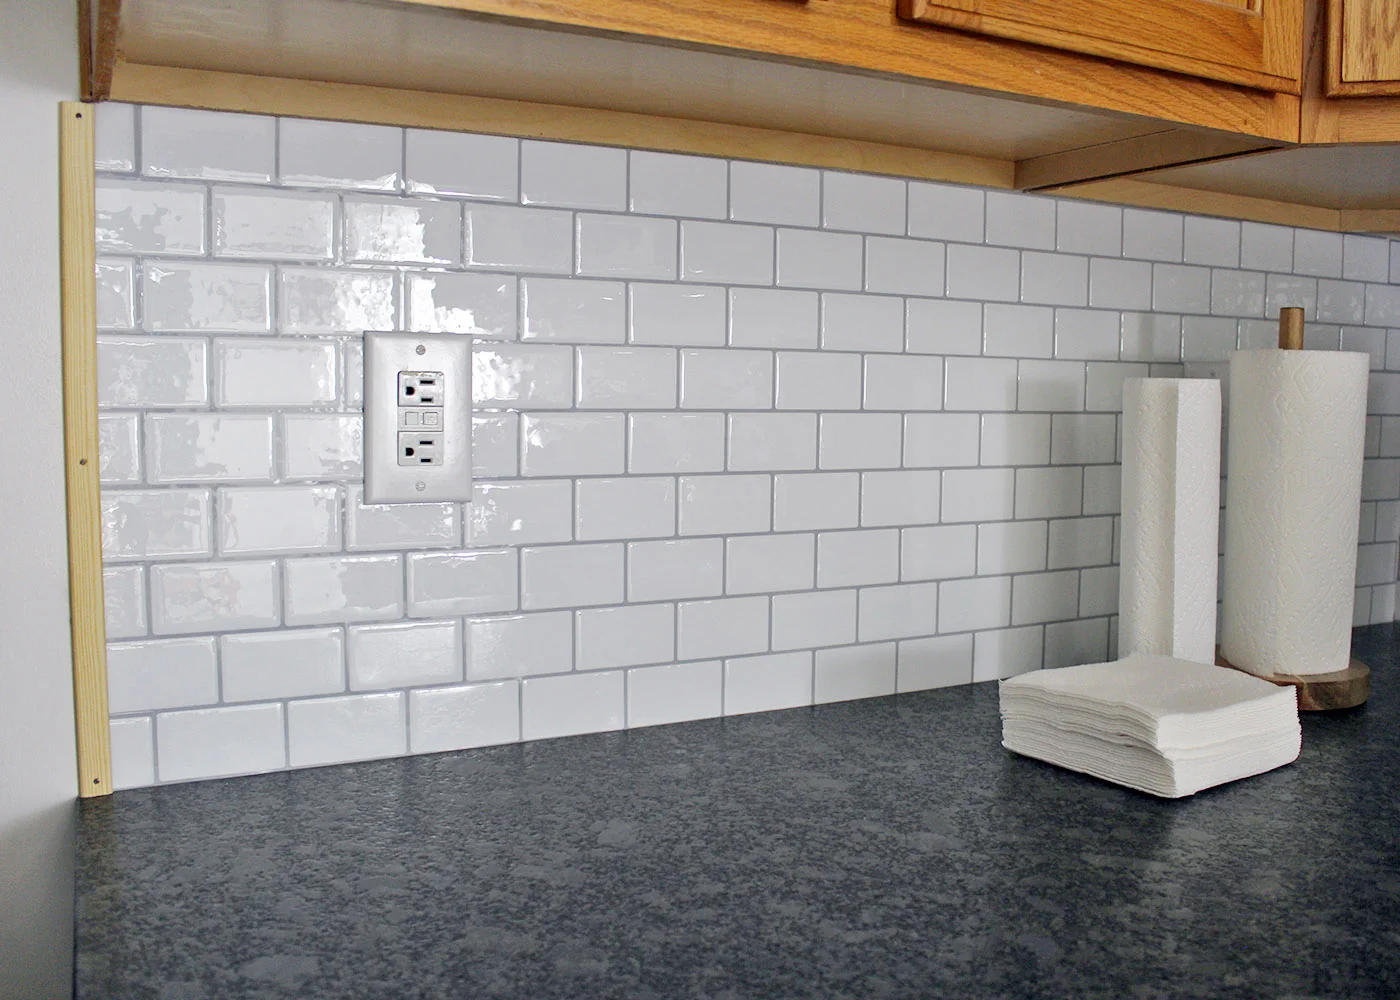
Before installing the faux subway backsplash, use a level with pencil to develop guidelines for sticking your faux tile against the wall.

Tip 3:
Cut out a cardboard template for outlets (if your outlets are the same size, this can be reused). Then pencil in dots of the general size/placement on tile paper. Finally, draw the full rectangle on tile paper and carefully cut out hole with a utility knife.

Tip 4:
When smoothing on the peel & stick tile sheets, press across the middle first. Then slowly work your way down and up until you have pressed out all air bubbles and tile sheet is secure to wall.
Tip 5:
Make the most of your tile sheets. We had 18 inches in height to cover from countertop to cabinet, and were able to do a full row of 12”x12” sheets, then cut and use 1/2 of the tile sheets for the upper 6”.

Tip 6:
We selected a thin plastic lattice molding to edge our new backsplash. My husband cut the molding to size (you can use a saw or Dremel) and hammer nails to the wall (countersink so they go in past the molding).
I filled the holes with spackling paste and sanded after it dried. Then I painted the molding with leftover white paint from our walls.


Are peel and stick tiles heat resistant?
According to the manufacturer the material is heat resistant. Ours is installed behind our induction oven and over the past 9 months we haven't had a change in material. I would contact the manufacturer and ask before installing around a fireplace.
Is a peel and stick backsplash tile waterproof?
Our peel & stick tiles are anti-mold and humidity resistant according to the manufacturer. We have wiped the stick on backsplash with a damp cloth several times without a problem. I would be comfortable installing them in a bathroom behind the sink, but would not install them near or in a shower.
Do peel and stick tiles look real?
From several feet away it looks real, because the tile sheets have a raised look with high gloss. When I stand 2 feet away from the backsplash and stare I can see lines from the tile paper.
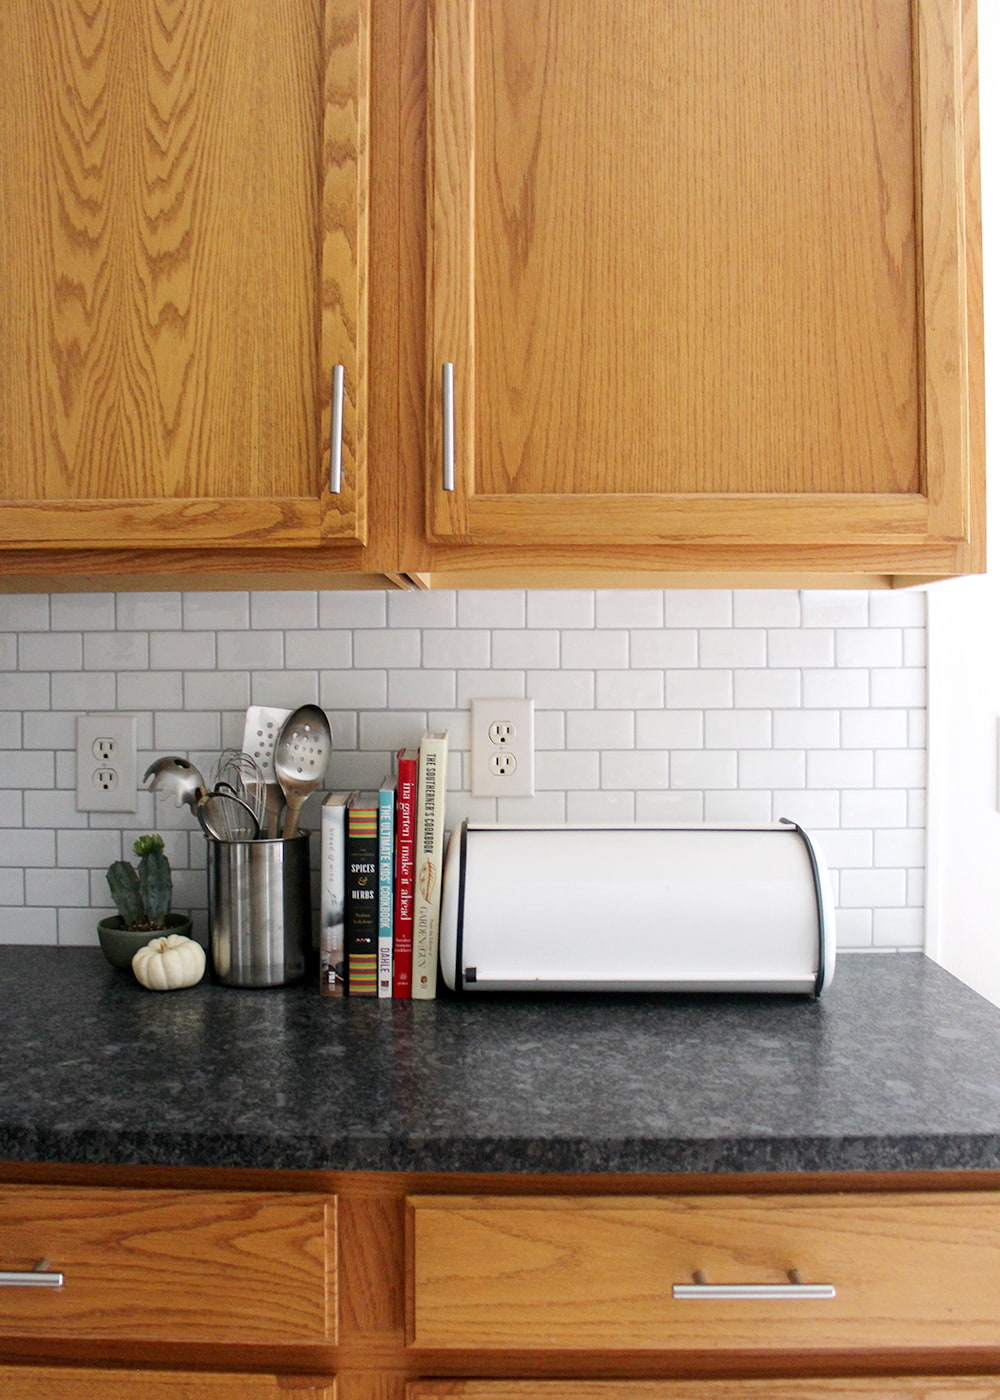
We went with the white subway backsplash with grey grout look. It feels very neutral and timeless, but still adds character and texture to the kitchen.

Condition of Peel & Stick Tiles after 4 Years
After 4 years the tiles still look good overall with no peeling. They are still smooth and easy to wipe. I clean our faux backsplash with a damp cloth with no issue. I have not had a problem with the heat of our induction oven.
However, the tiles have turned more creamy (yellow in some light). I still think these are an excellent temporary solution for backsplashes in RVs, rentals, bathrooms behind sinks, and kitchens. Just know that the white tile color may turn more creamy after a year or two.
According to the manufacturer the material can be removed by using concentrated heat from a hair dryer.

I hope you have found this article on our faux subway tile backsplash helpful! Our kitchen backsplash was small budget friendly at under $125 to install, and it has the look and feel of a real backsplash.
In total the DIY project took us 3-4 hours to complete over the weekend and could be a great fit for kitchens and bathrooms on a budget.