Hey you guys!! I'm finally getting around to gardening this year. A few strawberries popped up in our raised bed again, and we still have herbs. But I bought two new tomato plants and a pepper plant. This will be our third year growing tomatoes, and every year I learn something new...
I like to grow our tomatoes and peppers in containers so I can move them around to adjust sunlight, ect. And while I could have gone out and purchased new planters for this project, I prefer to upcycle things when possible (and save a few dollars!)
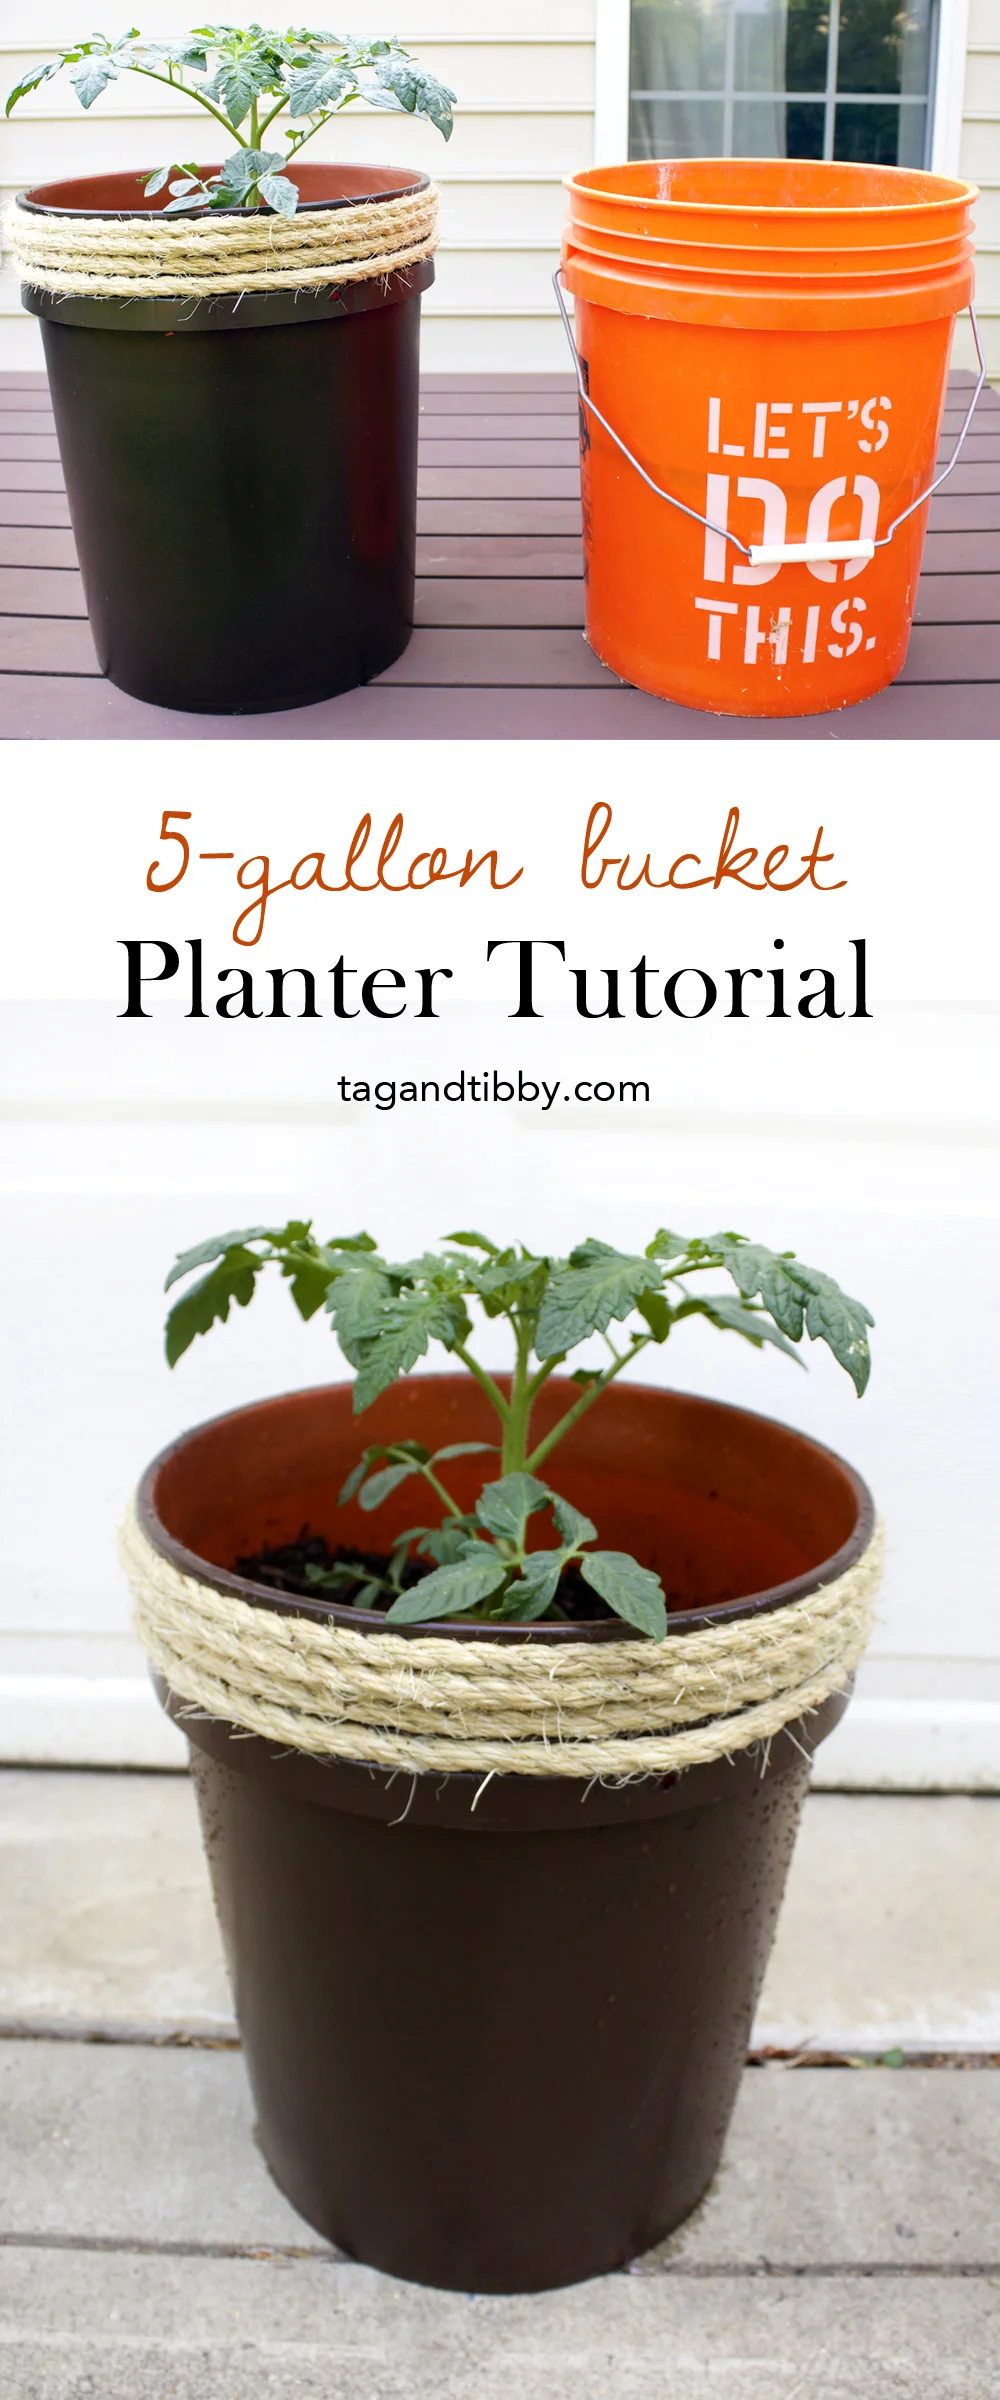
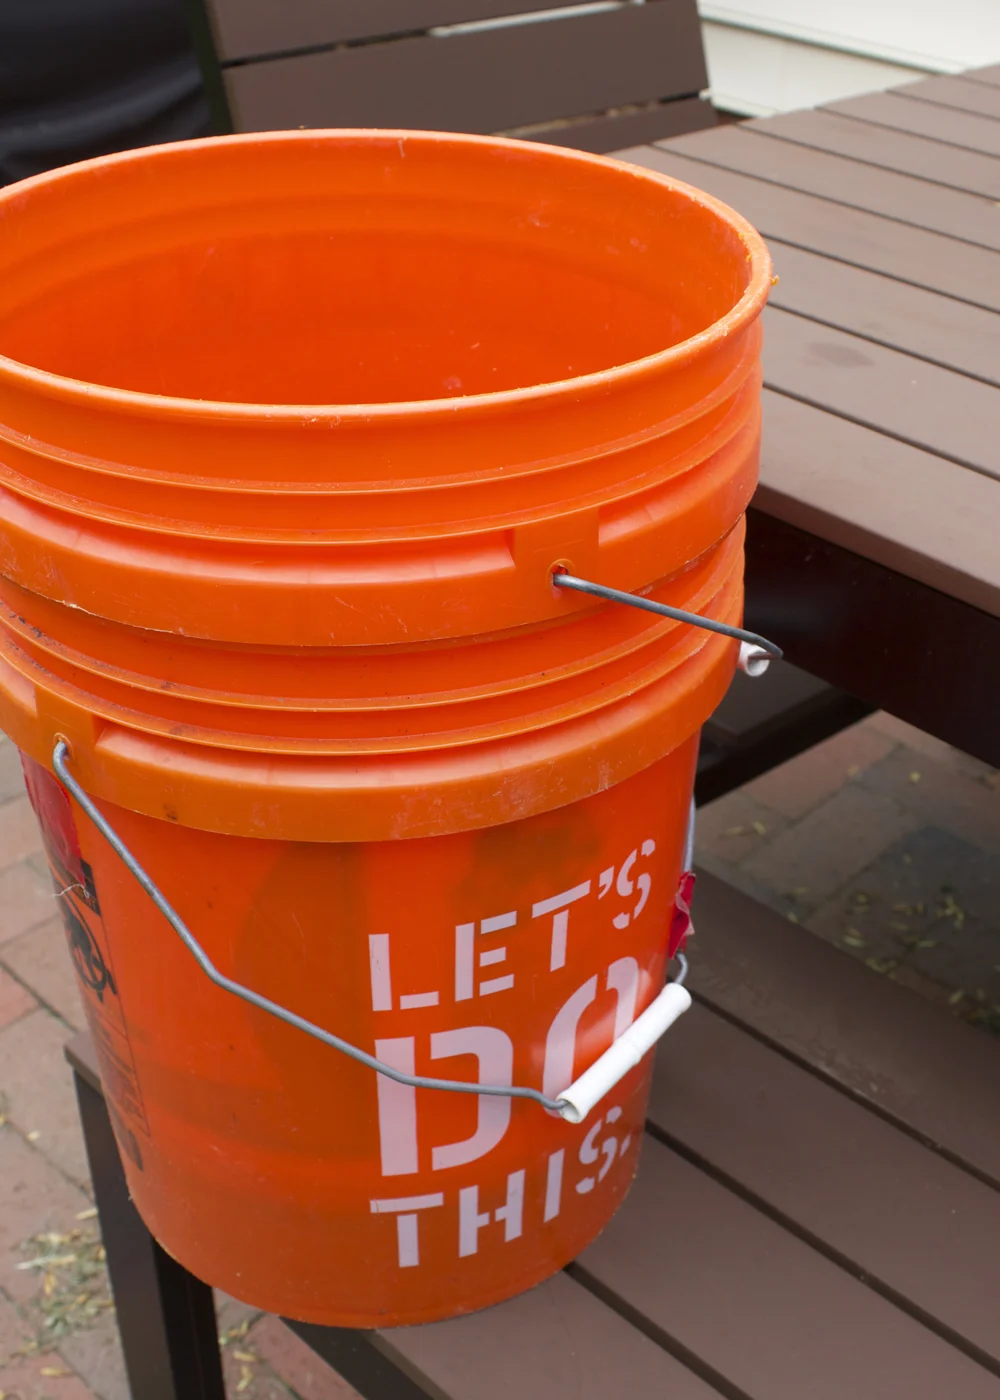
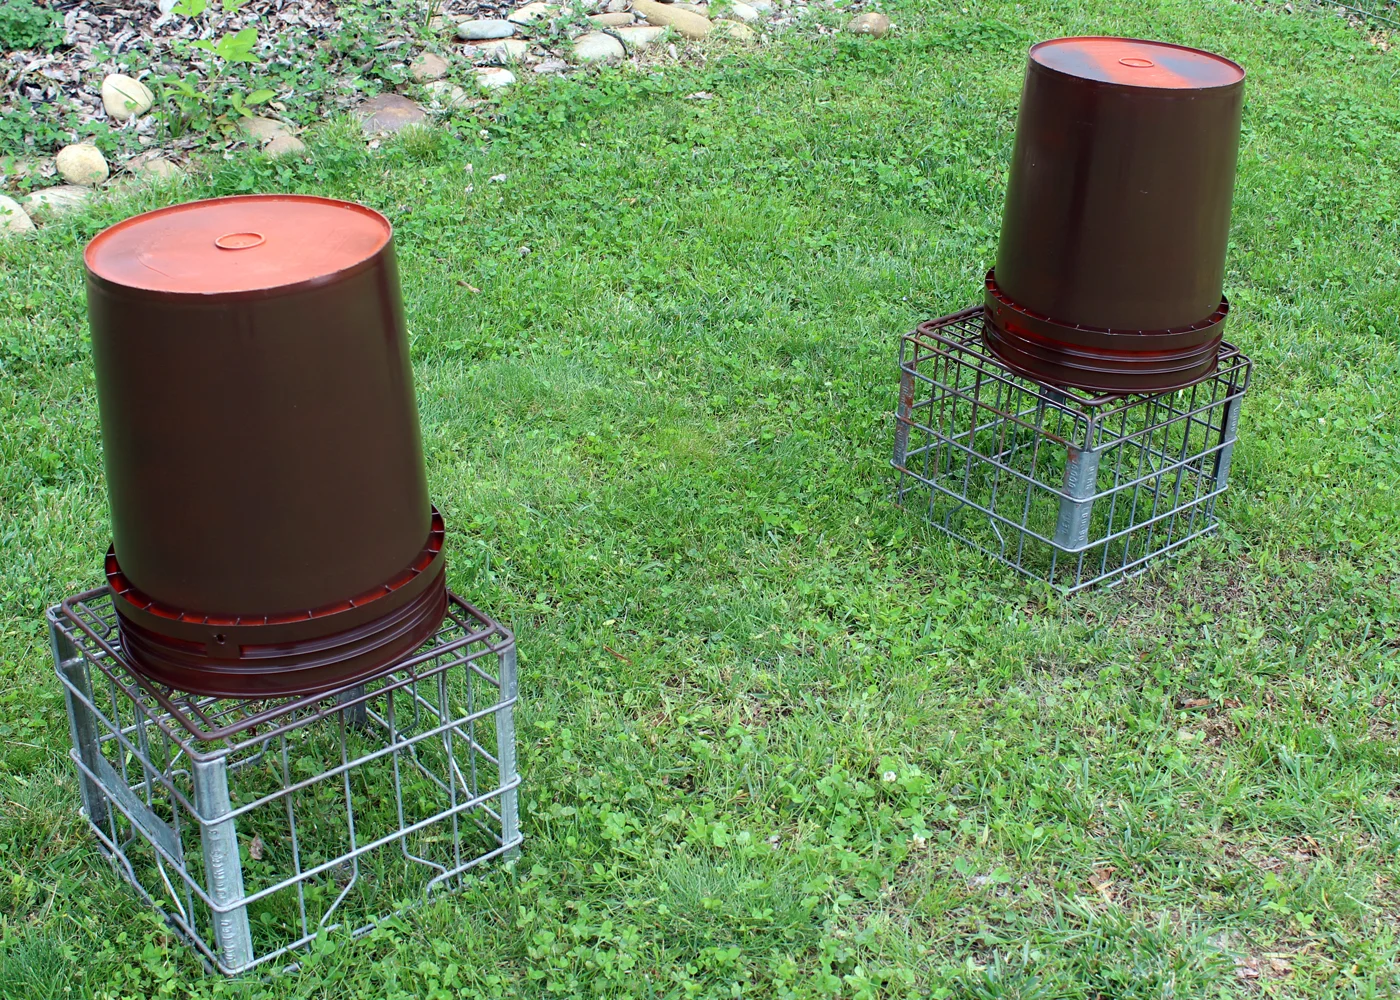
We had a set of 5, 5-gallon buckets stacked in the corner of the garage. Which piqued my interest. I managed to get 3 to try out my planter experiment and I'm thrilled with how they turned out!
Scroll down for a list of supplies you'll need to make your own 5-gallon bucket planter with step by step directions. I promise these planters are easy to make!!
Below is a supply list for a set of three planters. Feel free to adjust your product list to make more or less planters! Note: this post includes affiliate links, you can read more in my disclosure.
DIY Garden Planter from a 5-Gallon Bucket
Supplies
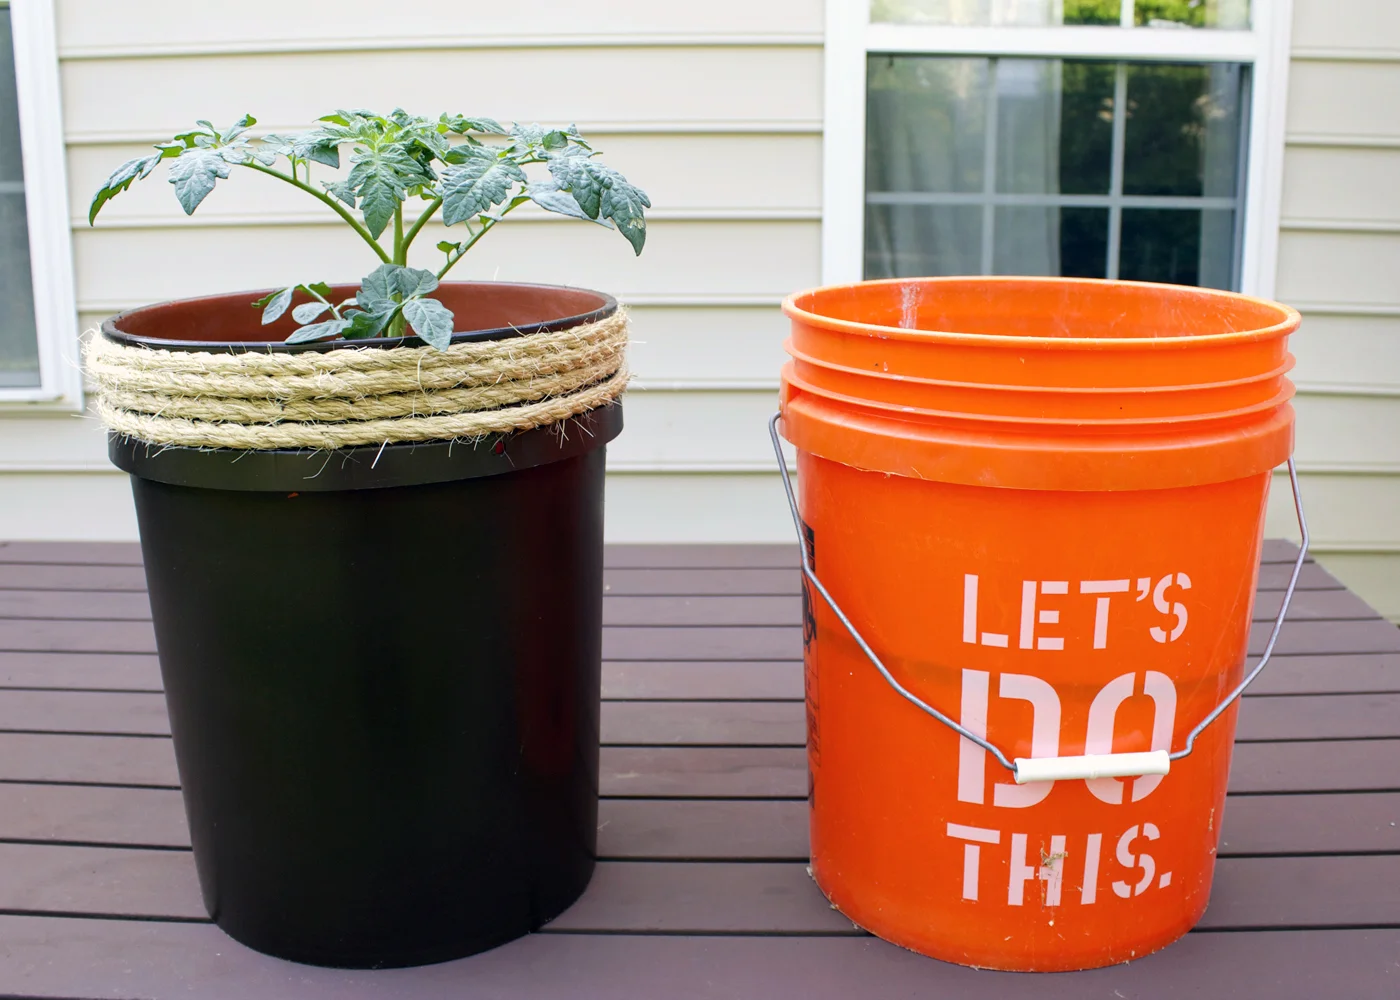
3 5-Gallon Buckets (total cost: $8.91, if purchasing)
2 Cans of Outdoor Enamel Spray Paint. (total cost: $8.50)
Fine Sandpaper (I used 400 grit, already owned)
36 ft of Sisal-Style Rope, cut into three 12 ft pieces (total cost if buy per ft: $9.72)
Drill with 1/4" Drill Bit
Your choice of rocks and high quality garden soil
-Total project cost for 3 planters: $27.13
-Price per planter: $9.04
Step 1
Remove the handles from each 5 gallon bucket by pulling on them until they pop out.

Step 2
Roughen up the bucket surface with a fine-grit sandpaper. Nothing fancy, just rub it down and brush off the dust after. This will help the paint adhere to the plastic bucket.

Step 3
Set your buckets out in a well-ventilated environment, preferably in a spot where you can spray the buckets from all sides.

Step 4
Spray paint each bucket with light coats, according to your spray paint can's instructions. Don't worry if the words show through after a coat or two! You will likely need 3 or four light coats for full coverage of the bucket.

Step 5
Allow paint to dry, and I recommend then flipping over the buckets face up to check for any spots you may have missed. Touch up with spray paint.
*Note: I chose not to spray paint the interior of my buckets because I was concerned with spray paint interacting with gardening plants.
Step 6
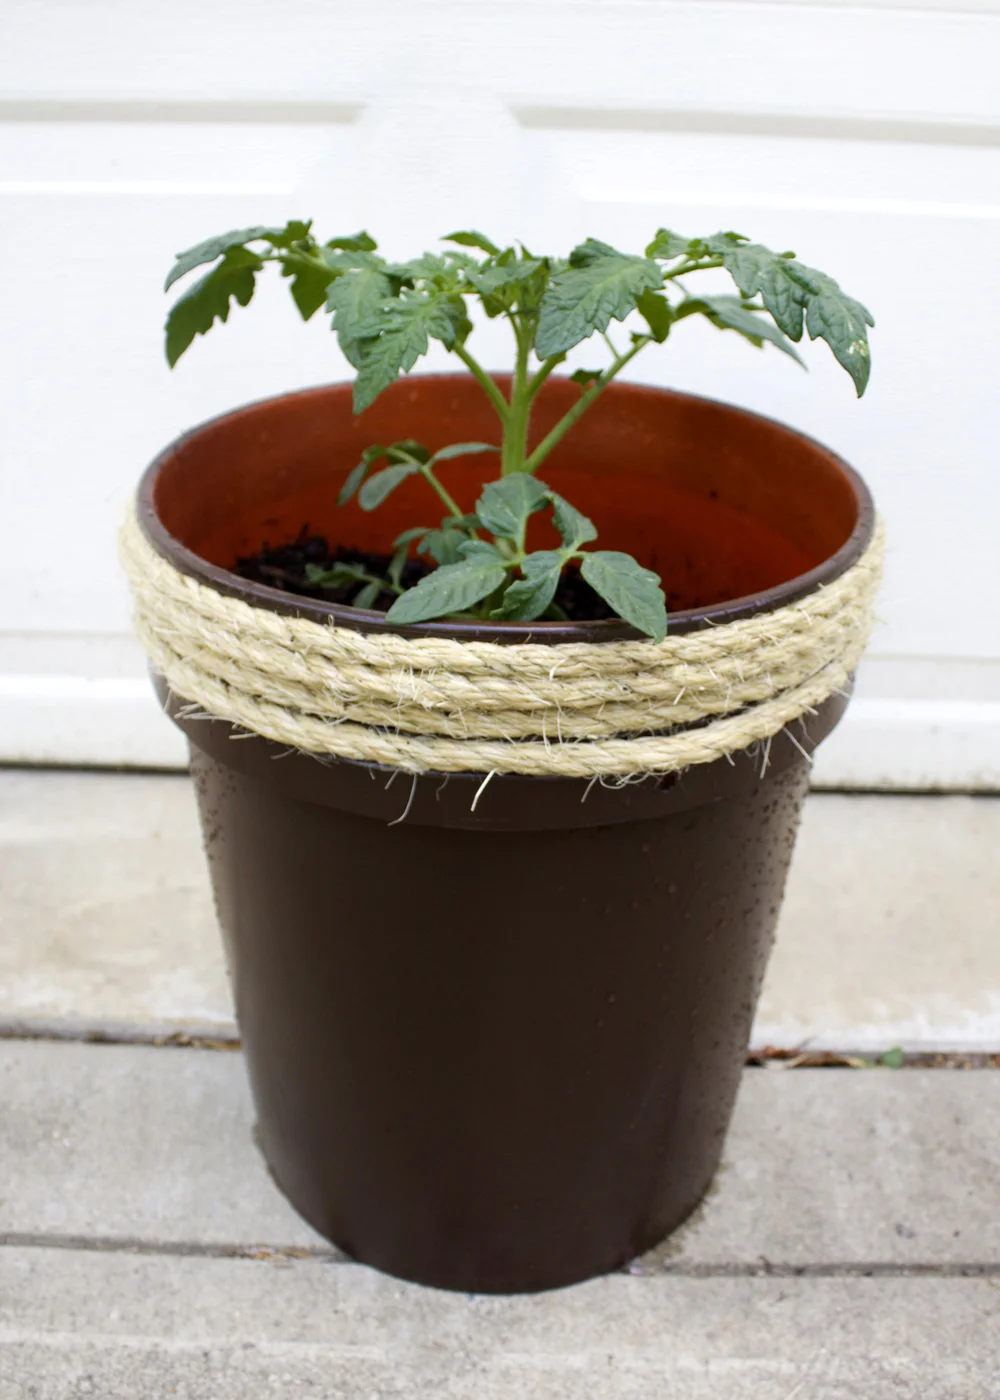
Now for the fun part! Wrap a 12 ft piece of rope around the top diameter of the bucket, just inside the outer lip. You could be fancy and glue the ends to the bucket, but I'm a lazy DIYer and chose to tuck each rope end into itself.
It makes for 1 "ugly side" but 3 pretty sides. And I'm good with that.

Step 7
Drill 1/4" holes in the bottom of each planter bucket. This will help the soil drain properly.

Step 8
Fill your planter buckets with gravel or lava rock (optional) then gardening soil. Then add your plant! And take a step back to admire the lovely planters you've upcycled!


End of Summer Update
We really enjoyed our 5-gallon upcycled planters this summer and got a good bit of tomatoes from them! We did add stakes to the pots as the plants grew.
The rope mildewed in the rain--we went with its rustic look. But as an alternative you could try adding nylon, polyester, or polypropylene rope as an alternative to the sisal.